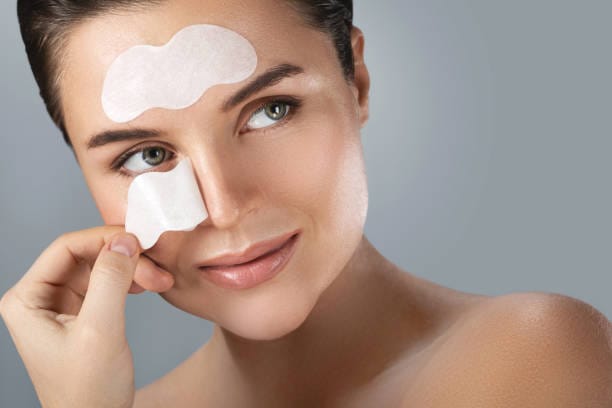
Do you struggle with stubborn blackheads and wish there was an easy, affordable solution? Look no further!
Making your pore strips at home is not only simple but also effective in giving you smoother, clearer skin.
In this article, we’ll guide you through the process step-by-step so you can bid farewell to those pesky blackheads for good.
Table of Contents
Why Make Your Own Pore Strip?
Commercial pore strips are convenient but can be expensive and may contain harsh chemicals. By making your own pore strips at home, you have full control over the ingredients, ensuring a gentler and more natural treatment for your skin.
What You’ll Need
- Ingredients
- Unflavored gelatin powder
- Milk or water
- Tools
- Microwave-safe bowl
- Spoon
- Small brush or spatula (optional)
- Facial tissue or paper towel
Step-by-Step Instructions
Mix the Ingredients
- Start by mixing 1 tablespoon of unflavored gelatin powder with 1–2 tablespoons of milk or water in a microwave-safe bowl. Stir well until it forms a thick, smooth paste.
Microwave the Mixture
- Place the bowl in the microwave and heat the mixture for about 10–15 seconds.
- Be cautious not to overheat it; you want the mixture to be warm but not boiling.
Apply to Problem Areas
- Using a small brush or spatula, apply the warm mixture to your nose, chin, forehead, or any other area prone to blackheads. Make sure to apply a slightly thicker layer around the edges for easy removal.
- Place the Strip
- Immediately after applying the mixture, place a strip of facial tissue or paper towel over the wet mixture.
- Gently press it down to ensure good adhesion to your skin.
Let It Dry
Allow the strip to dry completely for about 15–20 minutes. You’ll know it’s ready when it feels firm to the touch and no longer sticky.
Peel It Off
- Once dry, carefully peel off the strip starting from the edges. Pull it off in one swift motion to effectively remove blackheads and dirt from your pores.
- Rinse and Moisturize
- After removing the strip, rinse your face with lukewarm water to remove any residue. Follow up with your favourite moisturizer to keep your skin hydrated and smooth.
Additional Tips
- Avoid sensitive areas: Do not apply the pore strip to sensitive areas of your face or over acne-prone skin.
- Use regularly: For best results, incorporate this treatment into your skincare routine once or twice a week.
- Customize as needed: You can add a few drops of essential oils or honey to the mixture for additional skincare benefits.
Watch here for more
Conclusion
Making your pore strips at home is a cost-effective and gentle way to tackle blackheads without harsh chemicals. With just a few simple ingredients and easy steps, you can achieve smoother, clearer skin right from the comfort of your own home.


