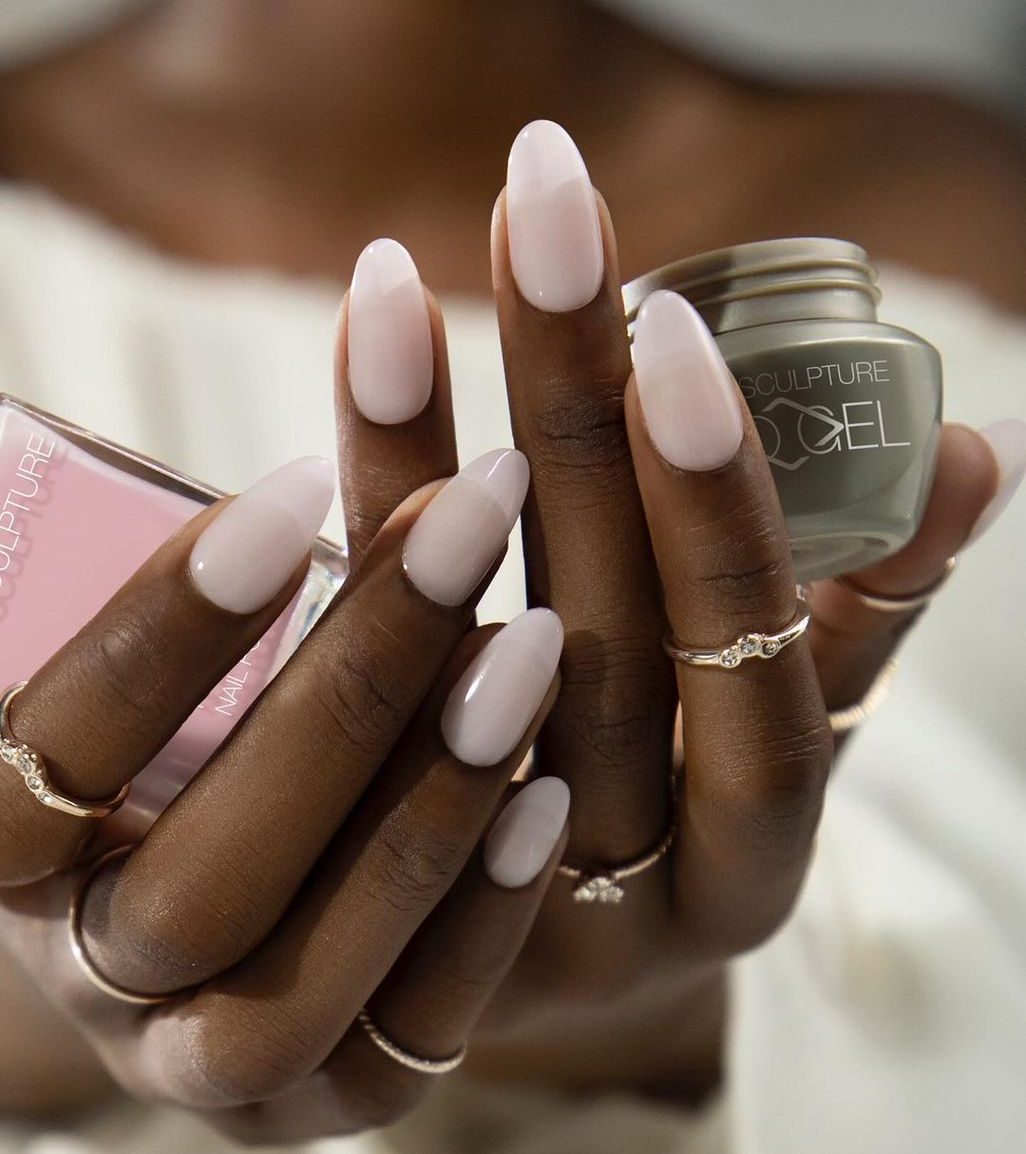
Bio sculpture nails are a game changing healthy option which are durable. This guide will walk you through everything you need to know to achieve the perfect Bio Sculpture Nails at home or in a salon.
What Are Bio Sculpture Nails?
Bio sculpture nails are made with a type of gel polish that helps to improve nail health as opposed to the regular acrylic nails.
Benefits of Bio Sculpture Nails
Non-Toxic: Free from harmful chemicals like formaldehyde, toluene, and DBP.
Flexible and Durable: Prevents nail breakage by allowing nails to bend without snapping.
Promotes Natural Nail Health: Encourages growth and strength.
Vegan and Cruelty-Free: Ethical and eco-friendly.
Variety of Colors and Finishes: From matte to glossy, the choices are endless.
Step-by-Step Guide to Achieving Bio Sculpture Nails
- Preparation
Before you begin, make sure your nails are clean, you can make use of nail polish remover if necessary. After you’ve cleaned them, you can file your nails according to your length and shape preference.
- Choose the Right Bio Sculpture Gel
Select the appropriate gel that best soothes your needs.
- Nail Priming
Apply a nail cleanser to remove any oils from your nail bed. This step is crucial for the gel to adhere properly and ensure longevity.
- Base Gel Application
Apply your base gel and dry with a UV or LED lamp.
- Building the Nail
Apply the bio sculpture gel in different layers according to your preference on how thick you want it dry with your UV lamp.
- Color Application
Apply 1-2 coats of your desired colour and dry with a UV lamp.
- Top Coat for Shine and Protection
Finish with a Bio Sculpture Top Coat to seal in the color and add an extra layer of protection and shine. Dry it under the lamp.
- Final Touches
Wipe your nails with a Bio Sculpture finishing wipe to remove any sticky residue. Apply cuticle oil to nourish your cuticles and keep them healthy.


